The Sewtogether Bag is a project bag designed by SewDemented. It has three interior pockets, and space for a needle keep and a pin cushion, if you'd like. I made mine to use for crochet or knitting, so I did not add the rest or pin cushion. My finished bag is 9 3/4" long and ~4 1/2" tall. Excellent for so many uses! Have an artist in your house, hook them up with one of these to keep their drawing supplies organized! Have that special Aunt who has everything? I bet she doesn't have one of these made by your loving hands to hold her sewing or crafting supplies!
I have to tell you, this was my first experience, EVER, putting in zippers... this bag had four zippers, and, honestly, they were what was keeping me from jumping in and making one, despite the fact that I regularly searched the hashtag #sewtogetherbag on Instagram and drooled over examples made the world over.
But no more!!
Things I liked,
- You can make it with scraps, or F8ths. No need for yardage.
- It becomes addicting to pull fabrics for future bags, it is so much fun to make!
- You can tailor the outside and inside to look anyway you like. Like solids? Use solids! Like large florals? Flower away!! Like a mix? Mix it up!!
- The making of the bag is in small steps that are easily accomplished, but which look incredibly polished.
- It really is EASY. Even the zippers!! And I love how Sewdemented thinks! The way this is put together is really eye opening when it comes to designing purses. Her method makes it so easy to make pockets.
Things I didn't like,
- There are almost no pictures of the steps. I used Quilt Barn's excellent tutorial, as my main source of info on how to sew this pattern. Really, just go and read it through and keep it open as you go. You'll just zip right through.
- You really do need to have a machine that can go through a LOT of layers for the final binding. Luckily, I have one. Otherwise, hand sew the binding on, and hand attach the handles. It's still easy, just wanted you to know :)
Tips and Tricks:
- Use a Jeans or 100 needle so that you don't have skipped stitches. I now use them for every bag I make.
- Follow the order of operations from the Quilt Barn tutorial.
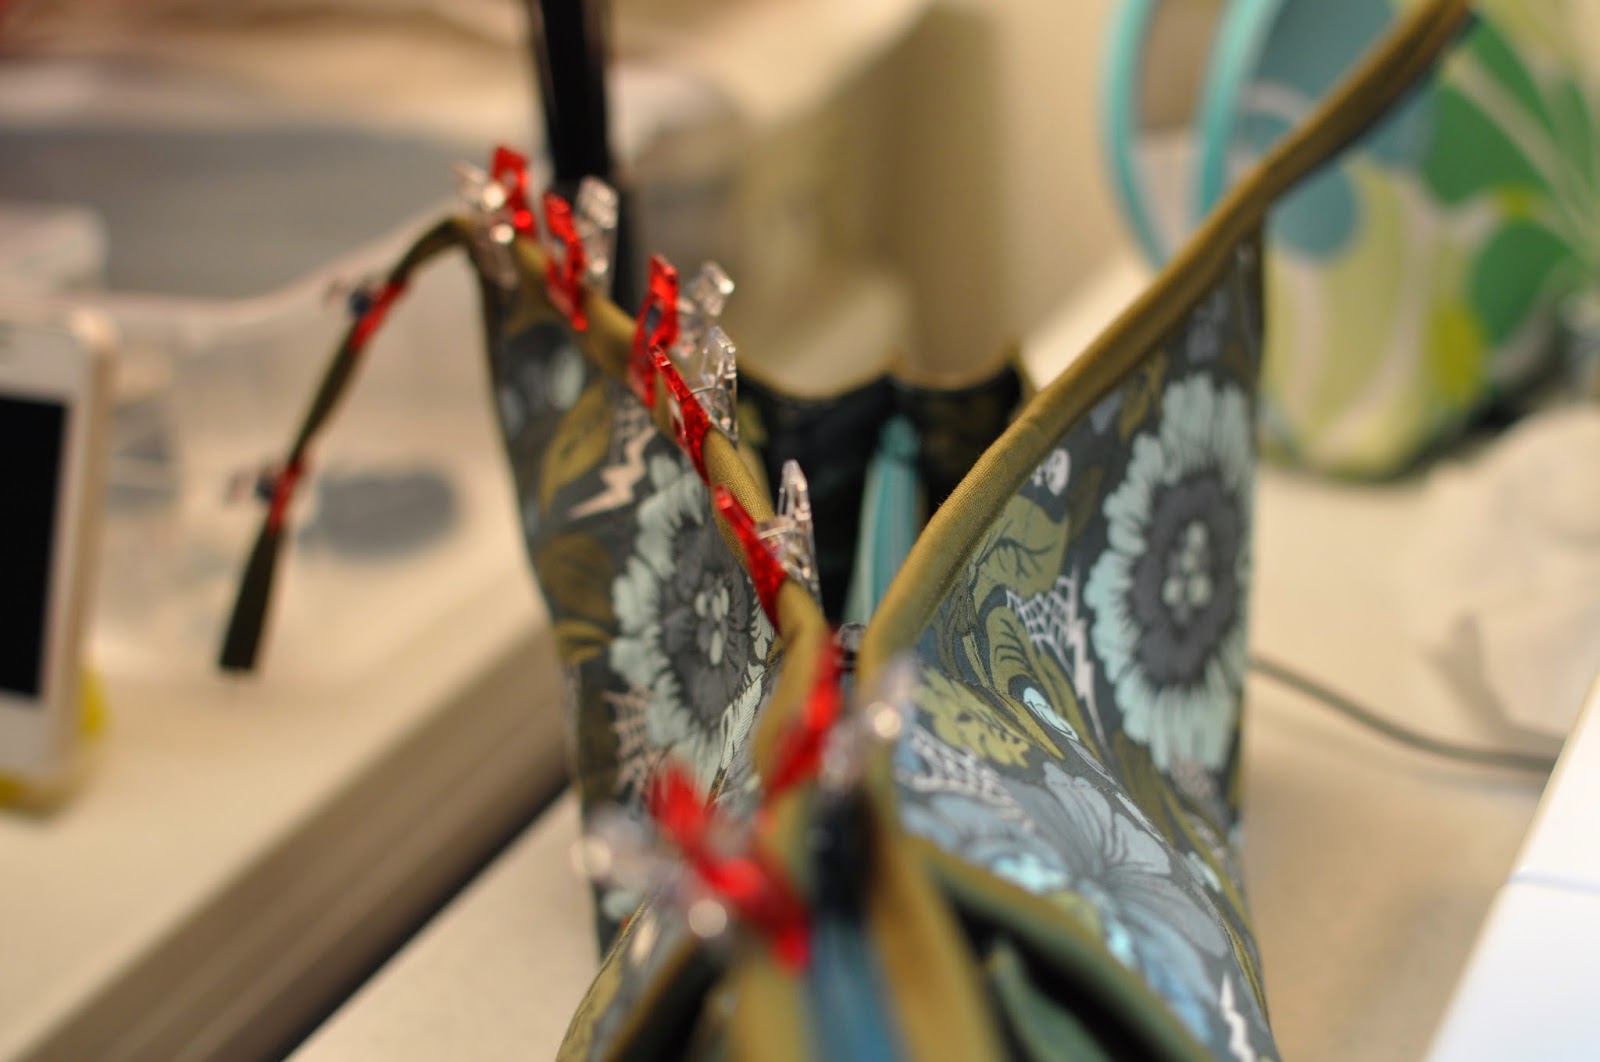
- Use Wonder Clips to hold your layers together, that way you won't end up with alot of bent pins,
- Use a thin interfacing. I used a thicker one for my outer layer, and that exacerbated the problem of having too many layers to easily and neatly sew through at the end,
- Take your time and take pains with your topstitching. It'll really pay off!
- Have fun choosing your fabrics and zippers! The zipper choice really shows.
- Use Quilt Barn's technique of filling bobbins with your threads, and sewing from them in the bobbin and as your top thread. Did you know you can do that??! I never thought of it! Having a bobbin on my top post that matched one side I was sewing, and one in the bobbin that matched the other side, gave my stitching real polish, as every stitch matched the fabric it went to. Then, when I flipped the bag over to stitch the other side, I just switched bobbins. What will they think of next??! I'll be doing this on all of my small projects!!
- I will use a 20" or 22" zipper for my top zipper from now on... it will allow my Sewtogether Bag to lie more open while I am using it. My quilting ladies point out that if I do this, my stuff may fall out... Whether or not you do this depends on your intended use... and besides, who doesn't want to see my stuff all fallen out ;0
- Make a test bag, and then make 3 or 4 at the same time, after that.
- Remember to assemble the pockets/insides in the manner suggested. If you chain piece each pocket separately, you'll have to assemble the inside unit upside down and backwards brain bendingly blah blah blah... ask me how I know!!! Stick with the sequence Quilt Barn shows you, quick, easy, polished!
- Be prepared. Cut all of your pieces, fuse your interfacings, and have your bobbins wound, in advance. Then you can just sit down and go!
- DO NOT show this finished bag to your friends. Don't say I didn't warn ya!! You'll be making hundreds and hundreds of them in no time.
Materials:
Outer Bag - Tula Pink Darkside
Inside pockets - Tula Pink 10" squares
Outside pockets - Kona solids; Aqua, Olive, Moss
Binding - Kona Moss
Zippers - 3, 9" polyester, 1, 18" polyester all from Joanns. They were ironable, which helped when topstitching the pockets.
Thread - Gutermann polyester in Celery, Moss, Dusty Blue, and Dark Teal. I had no problems with thread breakage.
You can find the pattern on Craftsy, here.
I can't wait to see yours!!!
XX!
Lori
Linking up with Fresh Sewing Day at Lily'sQuilts
Linking up with Fresh Sewing Day at Lily'sQuilts
and
Finish it up Friday at Crazy Mom Quilts
and
Let's Bee Social at Sew Fresh Quilts
And
Fabric Tuesday over at Quilt Story


What a great post with all these tips! I have bought the pattern, and will soon make my own.
ReplyDeleteSuper job on that bag and the great photos! I have thus far resisted making one of these bags... But I really am glad to have found your review post. If I ever do cave, I know where to go for all the great tips. Thanks so much for sharing your experiences!
ReplyDeleteOh super cute!!! I'm a sucker for a good baggie with lots of pockets.
ReplyDeleteI haven't made one of these yet but your post ALMOST has me ready to do so. Thanks so much for the tips/tricks, they are so helpful.
ReplyDeleteI've been drooling over these for ages as well... but I've been too scared to jump in! Your post makes me think I might just try though!! FABULOUS review and listing of tips!! THANK YOU!
ReplyDeleteWell, this is amazeballs! Your bag turned out perfect! I've had the pattern and zippers for months but still haven't sewn it! One of these days I will. :)
ReplyDeleteYour post has perfect timing I'm about to start cutting the fabric to make one of these today. Yours looks stunning, I want to make a Tula one but am doing a dummy run with some less loved fabrics first just in case it doesn't turn out as expected!
ReplyDeleteGreat post! I love this bag. great fabric choices. I guess it's time I make some more.
ReplyDeleteThanks for all your tips! A number of these bags are on my horizon so your words of wisdom will be a big help. Thanks for sharing with Oh Scrap!
ReplyDeleteI love your voice, Lori! Great bag, and great blog! I'm hoping to make one of these someday.
ReplyDeleteThannks for sharing this
ReplyDelete