EPP - English Paper Piecing Tutorial: Part Two - How to Glue Baste


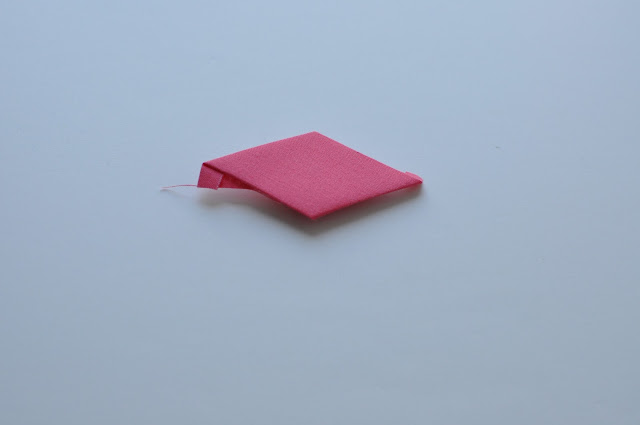


Welcome to SewPsyched!!
Today's tutorial is about how to GLUE BASTE for EPP.
Let's get started!!
Materials:
Fabric glue pen
High quality fabric
Paper or plastic templates
Let's talk Glue!
- Use FABRIC glue or SCHOOL glue so that it will wash out.
- Fabric glue has a dye that dries to clear. This dye makes it so that you can see where you have placed your glue. So handy!!
- A glue pen is super handy as it can be packed anywhere, is not messy, and contains the glue well. Liquid glue will get everywhere. Save it for glue basting bindings.
- NEVER NEVER NEVER iron your glue when glue basting EPP!! Ironing fabric or school glue sets it and will make it impossible to remove from your papers (you are gluing fabric to paper). Iron glue when glue basting bindings in order to set it and prevent it from slipping (you are gluing fabric to fabric). But never when EPP'ing with papers!!

Let's talk Thread!
- Use a 50 wt thread. 50 wt threads are light, so will show less as stitches, and are strong enough to stand up to actual use. I use Aurifil 50 wt in a color that matches as closely as possible to my fabric. I may use 10 or more different threads on one project! On this project I used Aurifil 2800, a very pale seafoam, and it blended perfectly with all of my colors. It is also less bright than an off white, so will reflect light less in case any does happen to show. Bonus!!
- Now is NOT the time to use old thread!! Get rid of it!! But keep the spools for photo shoots and pretty projects. Old thread disintegrates and will fall apart when your project is in use.
- To polyester or not to polyester?? That is the question. It's up to your personal taste. I use poly thread when I want more sheen in my work. Since I don't want any of my stitches to show when I'm constructing a piece, and steal attention from my finished product, I don't use polyester in construction. I WOULD use it to decorate all over my piller, though!!
Glue basting is super fast and super easy!!!
1. Cut your fabric into a shape that is at least 1/4" larger than your template, all of the way around. For my 1.5" (measured across the short middle) diamonds I cut rectangles of 2.25" by 3.25".
2. Lay the fabric in front of you, long side towards you.
3. Place the template at an angle to the fabric.

NO!! Your points will have fuzzy edges, turn your diamond at an angle.

Yes!!! Plenty of coverage :)
4. Dot a couple of dots of glue on the fabric. You can also turn the glue pen so that you are using just an edge of the sticky surface, and draw a very thin line along the entire edge. They both work equally well to hold your fabric onto your template. It will be slightly harder to remove the template if you glue all along each edge. But no worries!!! Remember, less is more, here!!!

5. Fold the fabric across the edge of the template, maintaining its position on the template. Finger press/crease the edge. Repeat the gluing for the Opposite Edge.

It's important to glue opposite edges so that your template is held securely in the center of your fabric, without slipping. If you glue clockwise or counterclockwise around your template, you will end up with a lot of fabric at the beginning and a very small edge at the end. Ack!!!
6. Now glue dot the sides, fold them onto the template and finger press into place.


Yes. That is a lot of extra fabric. No, it will have no impact on your final project! I like for beginners to have this extra fabric, so that when they quilt their project, the quilting goes across the extra fabric and gives more support to their hand stitching. That way the stresses of actual use won't pop the hand stitches out because your quilting is going along next to them, in this extra fabric :)
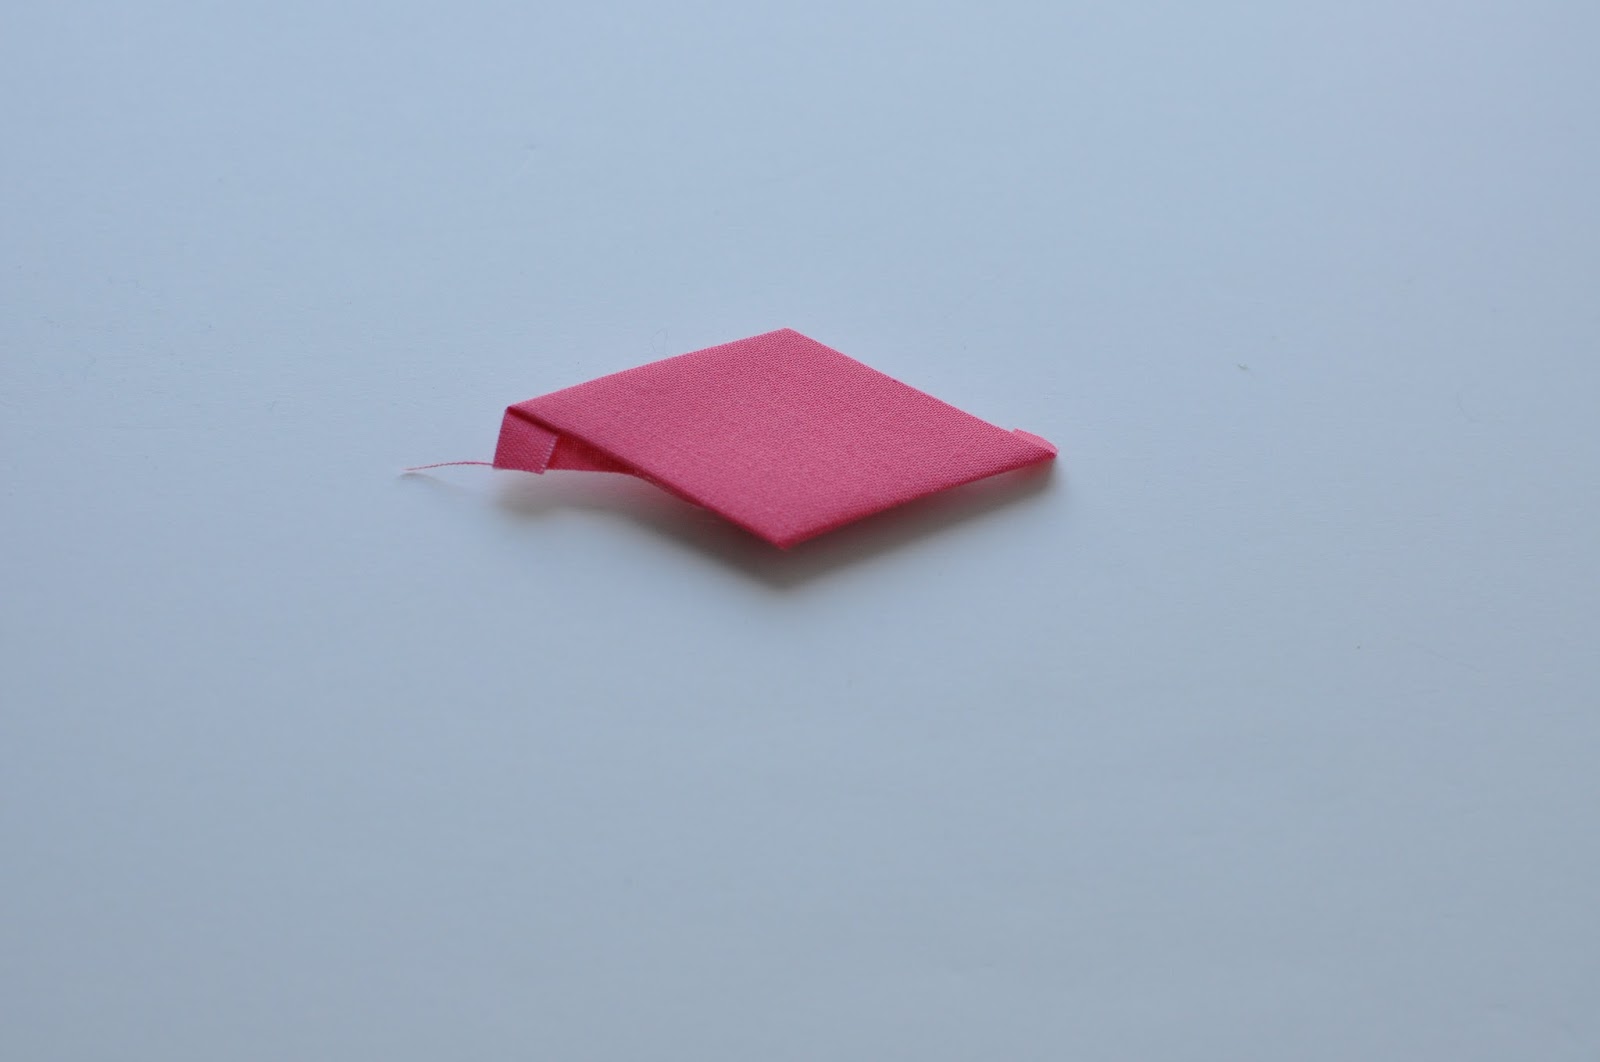
7. If you would like less fabric behind your templates, or are an intermediate sewist, go ahead and make a template that is 1/4" larger, all around, than your EPP template. Cardboard is nice. Or clear template plastic if you wish to fussy cut. Then cut pieces of fabric and glue as per the above instructions.

Be certain not to pull your fabric TIGHT against the template!!! You'll need quite a bit of wiggle room in order to sew the pieces together!!! See how the bottom diamond looks a little rounder than the top diamond, on the edges. That's much better:)
The top diamond is going to be AWFUL to sew together with other diamonds...
The top diamond is going to be AWFUL to sew together with other diamonds...
*TIP*
Never never never never never never never ever never iron your glue basted shapes while the templates are in them!!!
Heat sets the glue and makes it next to impossible to remove the paper templates.
You should never iron plastic templates, anyhoo;)
Now you know how to glue baste for EPP!
Woo!!
Click here to go to the tutorial for Thread Basting in Epp, and click here for How to Assemble an EPP project and instructions for the Paperie Pillow of Lerve :)
Click here to go to the tutorial for Thread Basting in Epp, and click here for How to Assemble an EPP project and instructions for the Paperie Pillow of Lerve :)
XX!
Lori